

From Our previous tutorial, we discussed on how to download Android studio from the official Android account and we explained various steps on how to set up Android Studio and be ready for use
In this article, we shall Focus on how you can create you are first Android application and install it on your Android device
One thing you should know is that as a developer you can either run your app in an emulator or a real environment which is your phone
An emulator is an environment provided by Google in Android studio to test the output of the app you are building
Having installed Android studio (ensure you have the latest version, you can always check on the bottom right of your Android studio after opening whether they are updates)
Opening Android studio
Double Click on the icon on your windows machine
Wait for it to open until Gradle build complete message is displayed
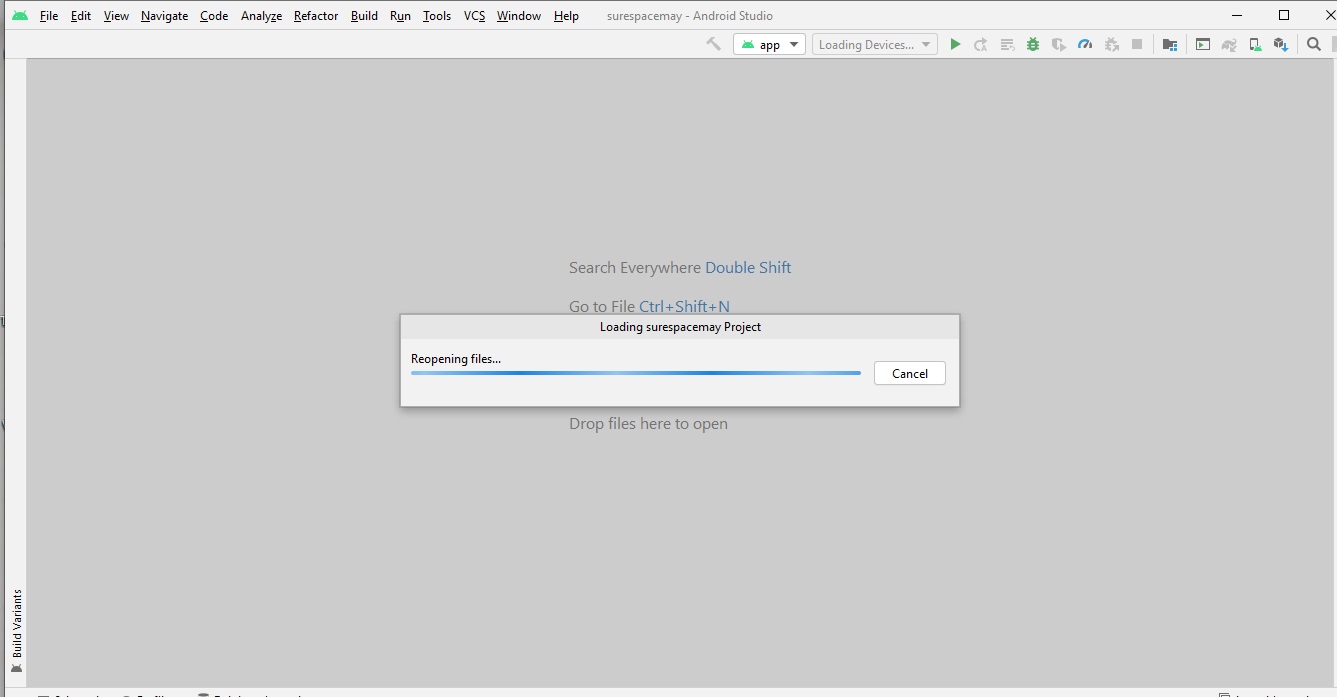
We are now ready to start building our first app

Creating your project
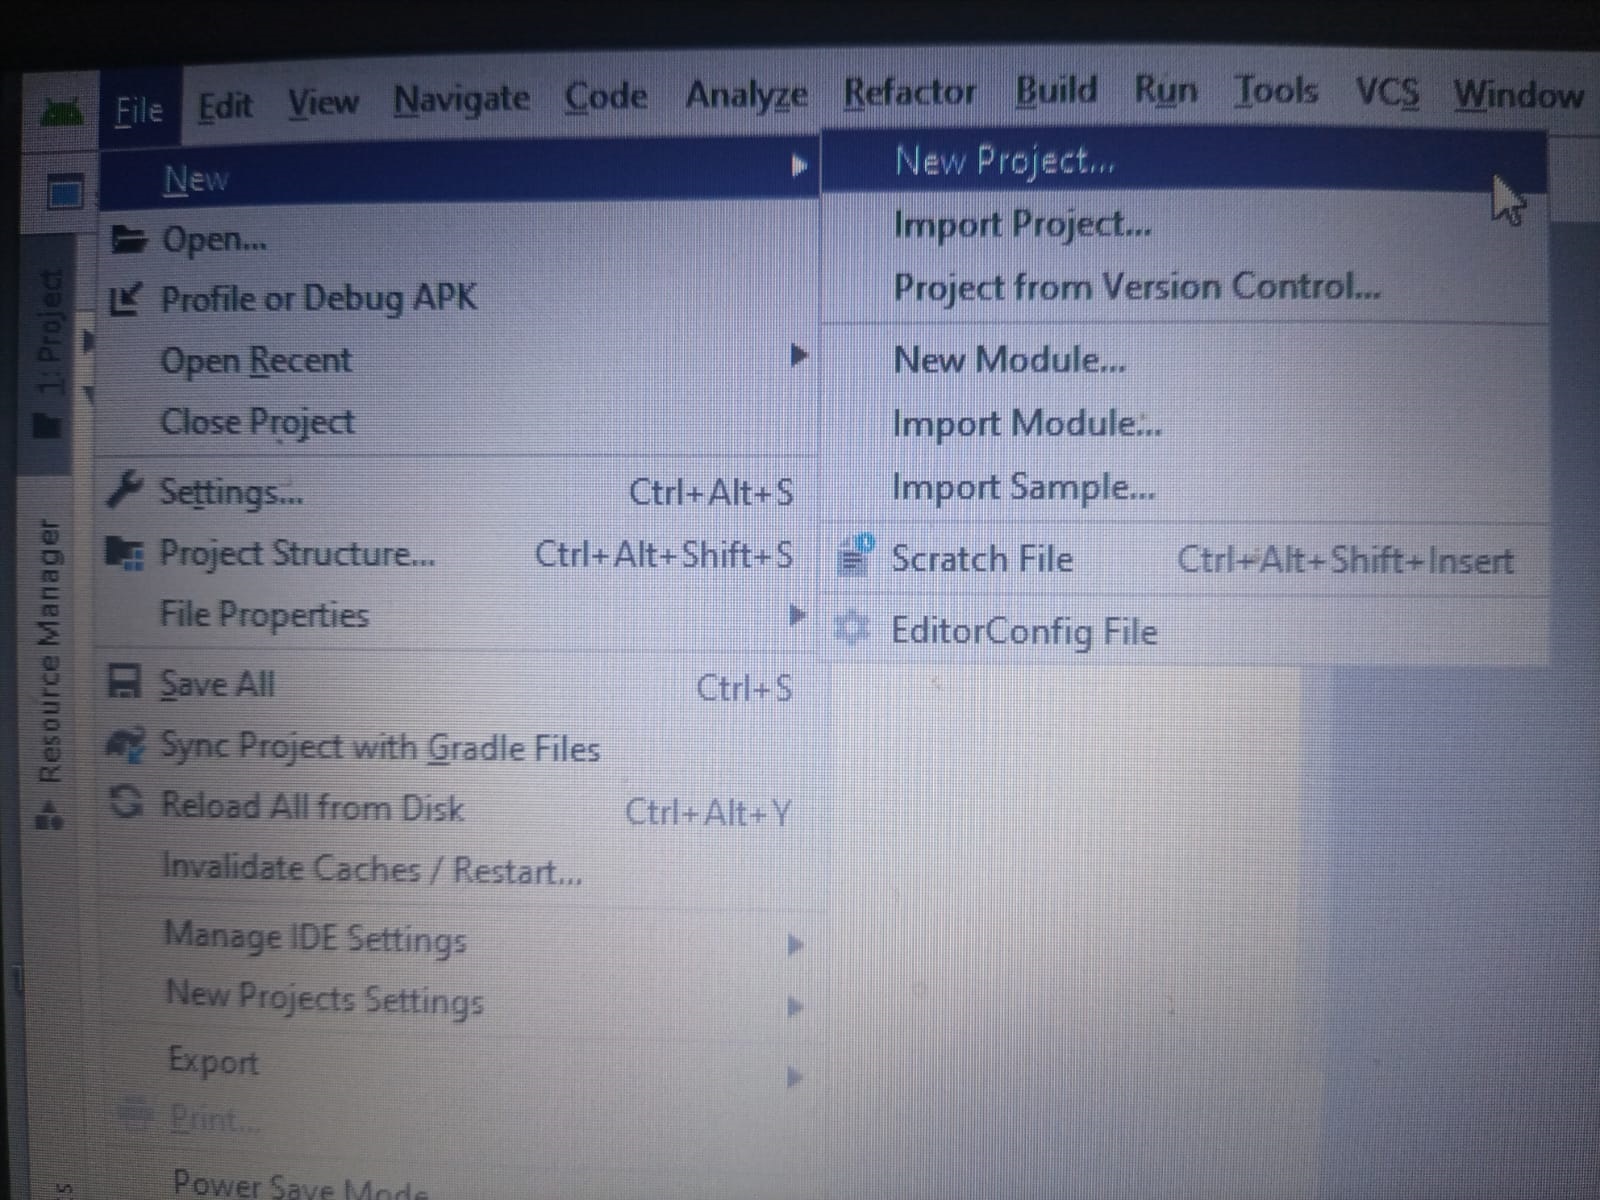
On the top left, click on File and select new on the options that are displayed
On the new option click on the new project as shown below
Is the next screen you noticed that Android provide different templates depending on what you want to build
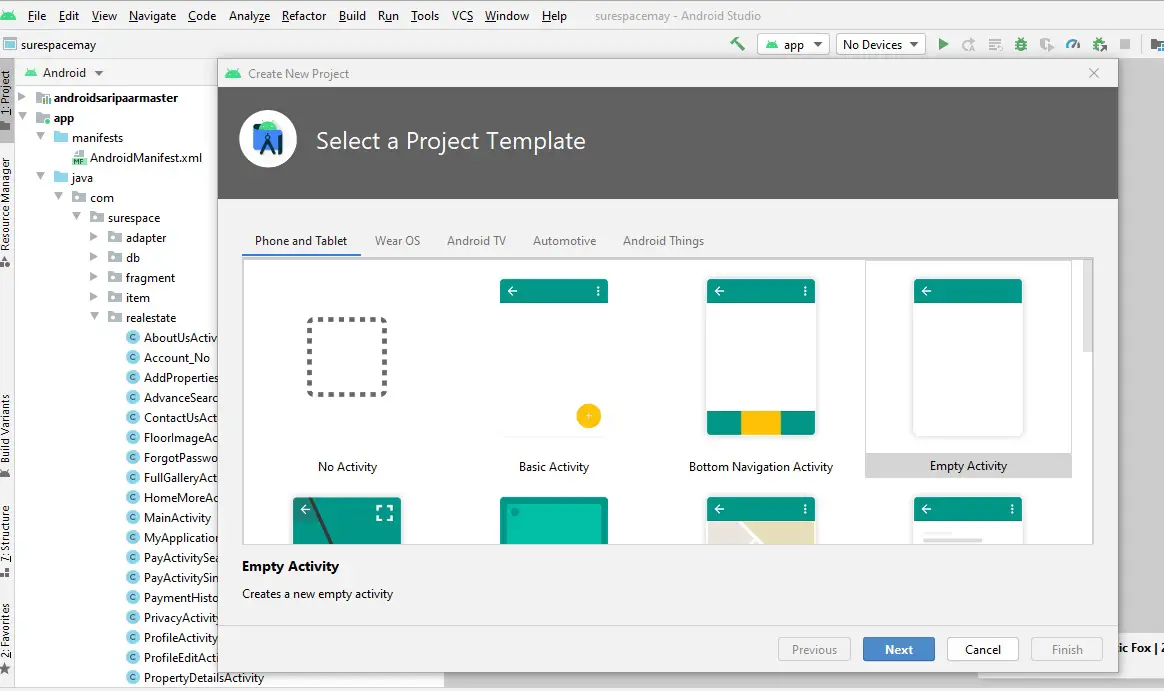
Select the fourth one which is the empty activity but you still have a choice of selecting any other depending on what you want to achieve
After selecting a template click next, in this screen, it's where you configure your project by giving it a name a package name, storage location of the project files, the language you will want to use either Java or Kotlin, and finally minimum SDK of the devices you are targeting
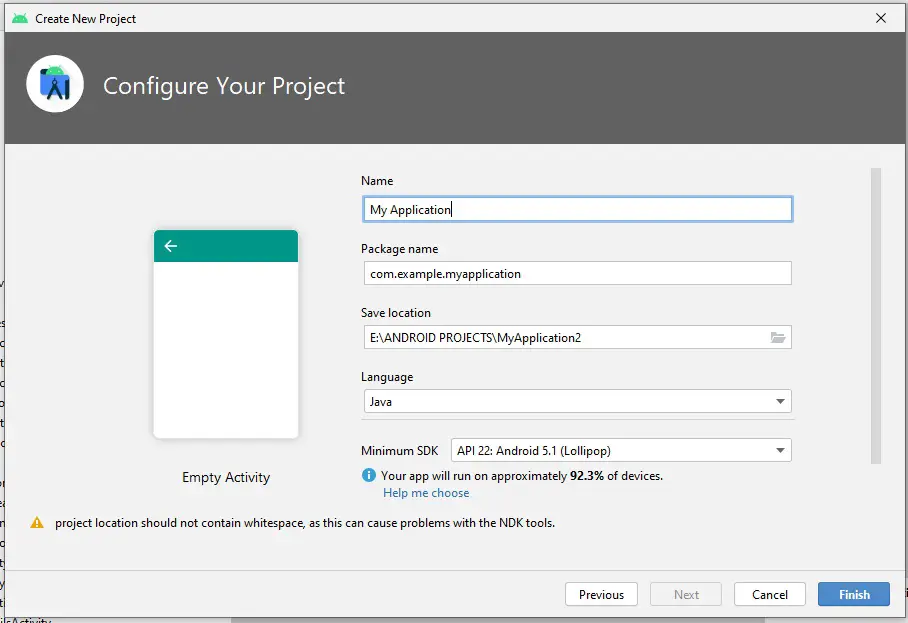
You can give your project a name and call it FirstAndroidApp remember should be no spaces between the project name
A package name will be filled automatically, you can change it to fit the required standard of Playstore that is Play store does not accept com.example
You can update the location of your app file
And then select your language of choice either Java or Kotlin
Click finish and wait for configuration to finish
Once that is done a screen with two files activity_main.xml and MainActivity.java will be displayed but you will notice at the bottom of the screen some few activities will be happening don't be in a hurry just wait for Gradle to finish executing its tasks
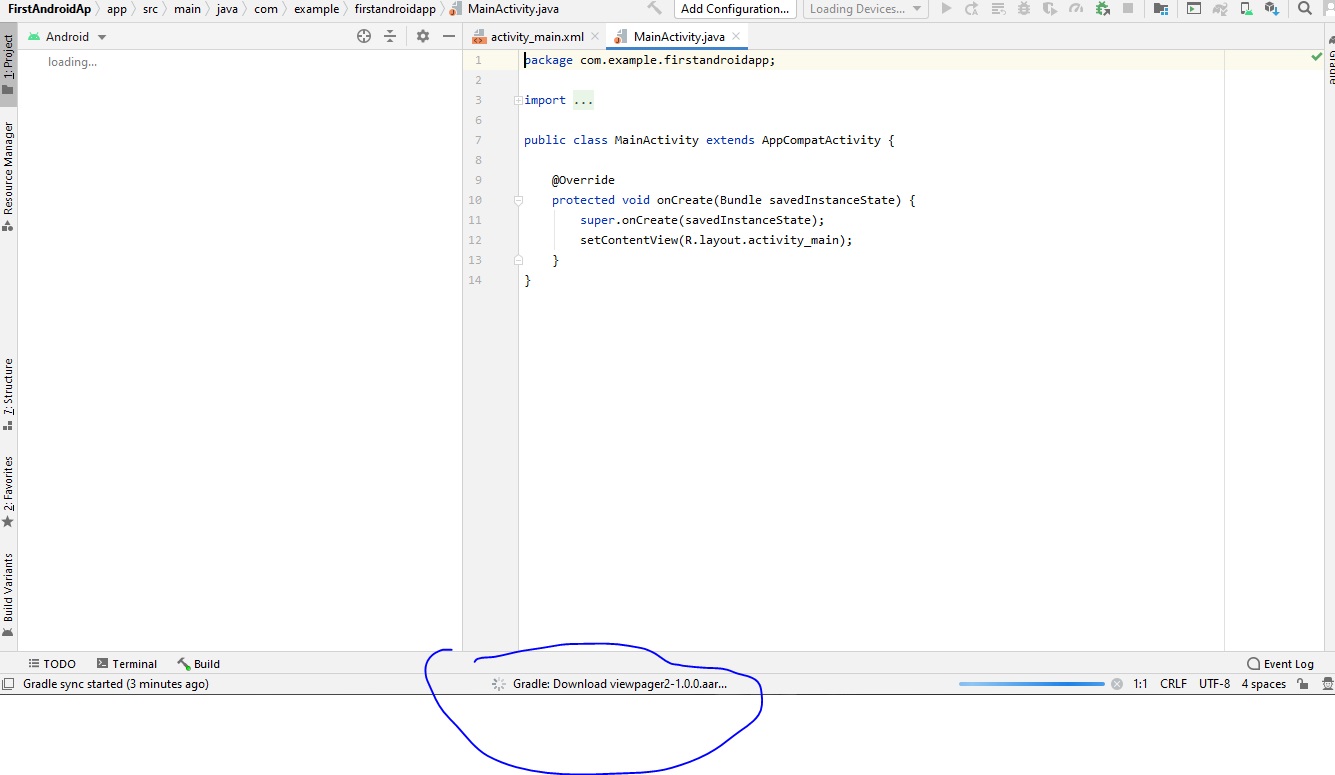
Once Gradle has completed running, you will be free to start writing codes for your first Android project
Writing codes for your first Android app
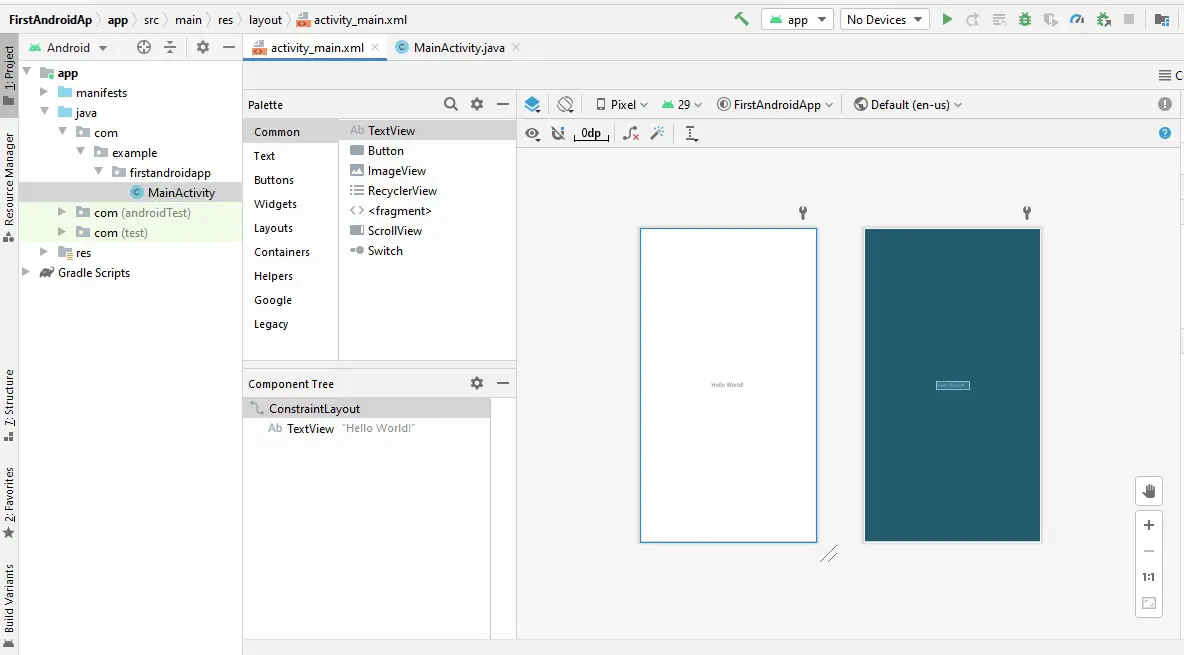
The two files that were created that is activity_main.xml and MainActivity.java are the default for the home screen of any app
activity_main.xml is the file that contains all the designs while MainActivity.java is the file that contains the executions of the activities happening
The screen shown in activity_main.xml shows exactly how your app will look like when it is installed in the environment it will be used
By default 'hello world' is already pre-configured
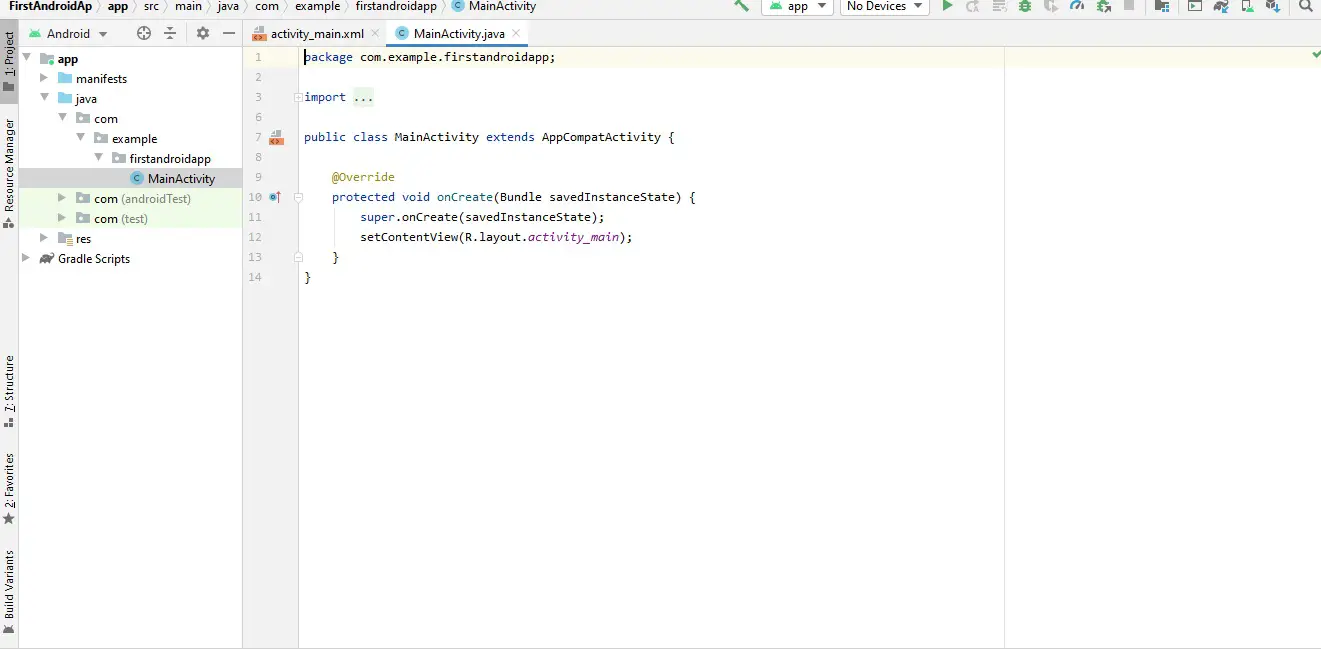
In the MainAactivity.Java you will notice that it doesn't have much other than linking the XML file to it
Launching the App
You want to now to launch the app on a real device or an emulator
To launch on your phone, connect a USB cable to your machine and link it with your phone
Click on the run app icon at the top middle of the Android studio
Wait for it to finish and view the results on your phone
That is how to launch your first app in Android studio